Syncing SharePoint Document Libraries with OneDrive
Below are details on syncing SharePoint document libraries to your local computer using the OneDrive app.
NOTE: Don't confuse this option with Add Shortcut to OneDrive - this will not synchronize files
These are the important steps to perform to sync your files. More detailed information is below these outlined steps.
- Make sure you have the latest OneDrive agent installed and your account is connected
- Browse to your Document Library and Sync the library (Sync is recommended instead of Add Shortcut to OneDrive
- IMPORTANT: Change the settings on whether you want to keep a full copy of the files local
- Optional: Favorite the SharePoint site to make it easy to find in your OneDrive interface
Make sure you have the latest OneDrive agent installed and your account is connected
If you have a “blue” cloud in the lower taskbar like below, you are connected to OneDrive already.

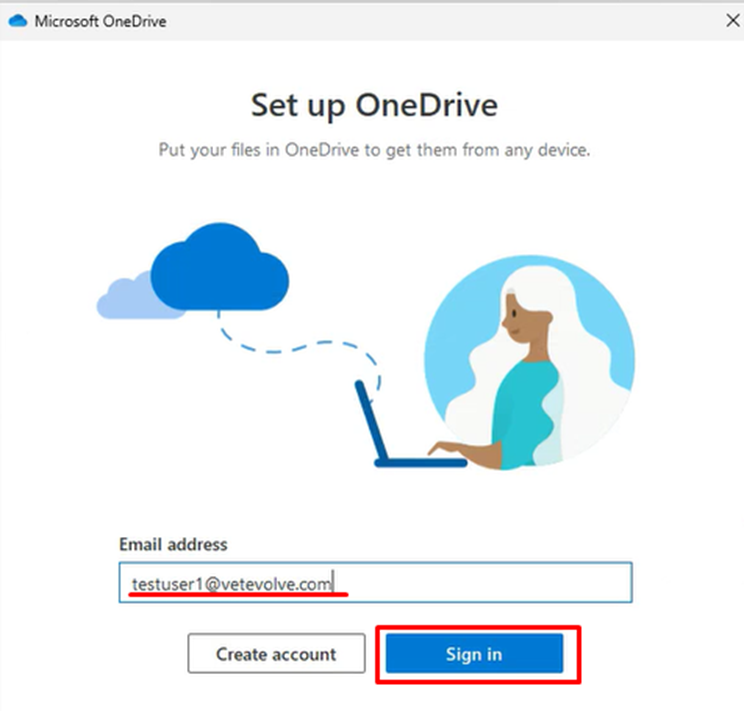
Otherwise, open your OneDrive app from the Windows Start menu

Sign-in using your Microsoft 365 account. You will be prompted for you password and multifactor.
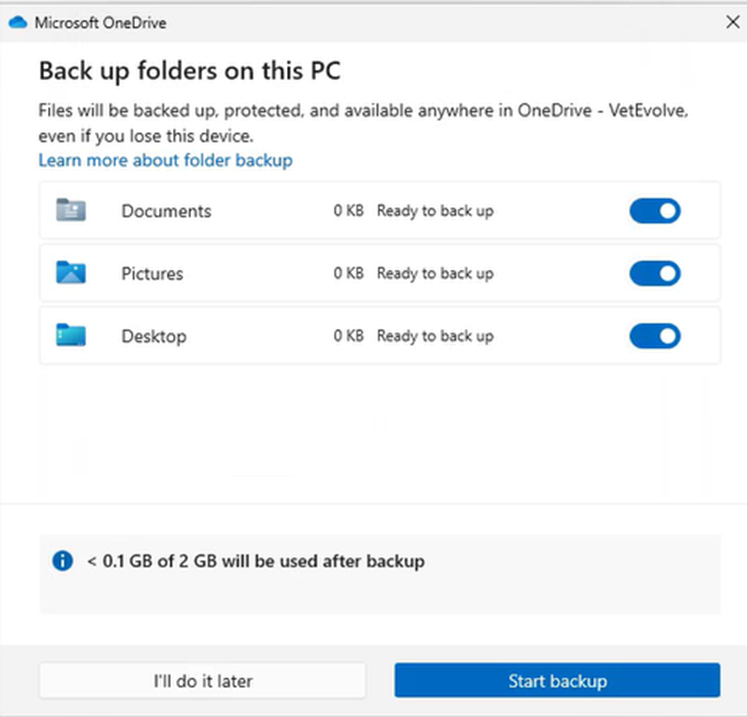
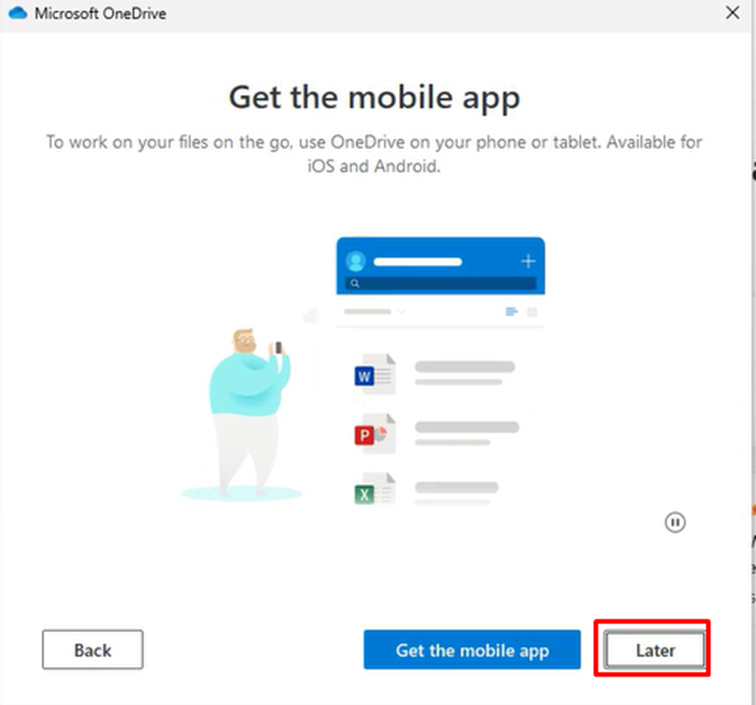
Once signed in – accept the defaults to finish the OneDrive setup. Note if you have a large number of files, this could take some time to sync your individual OneDrive data.
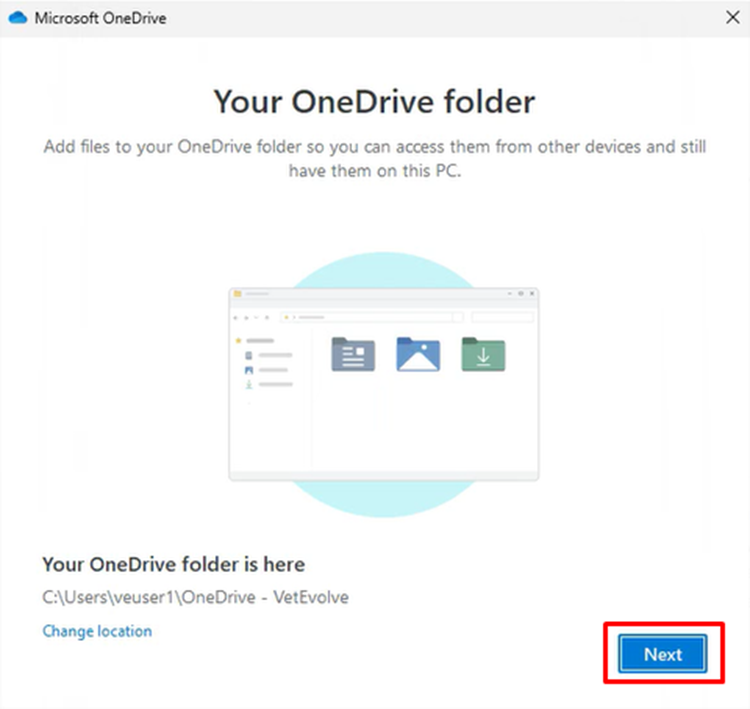

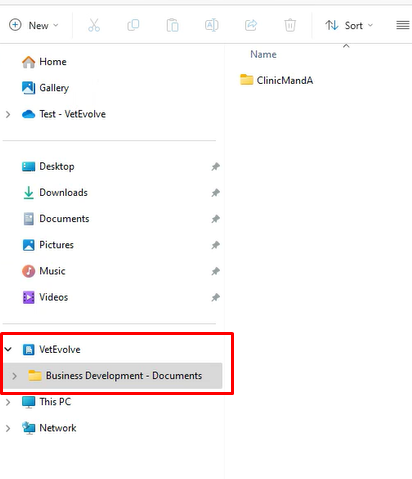
You will now have a OneDrive folder available in your Windows Explorer with your Firstname-VetEvolve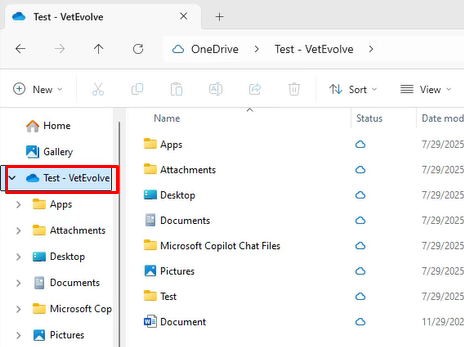
Browse to your Document Library and Sync the library
If you want to have files from SharePoint synced to your computer you can browse the Document Library within the Sharepoint site/Team site you want to sync.
For example to Sync the Business Development document library – browse to https://vetevolve.sharepoint.com/sites/BusinessDevelopment/Shared%20Documents
Click the ellipsis in the menu if you don’t see the Sync option and then choose Sync

Or

Click Open to start the sync.

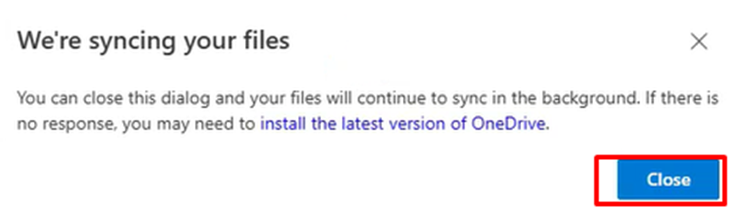
You can click the close button on any other pop-up windows
This will give you a VetEvolve section within your Explorer window that houses all your synced document libraries: